
These are all of the images from a Gyotaku class I went to through the Japanese Culture Center. The actual class wasn't taught by someone from the JCC.
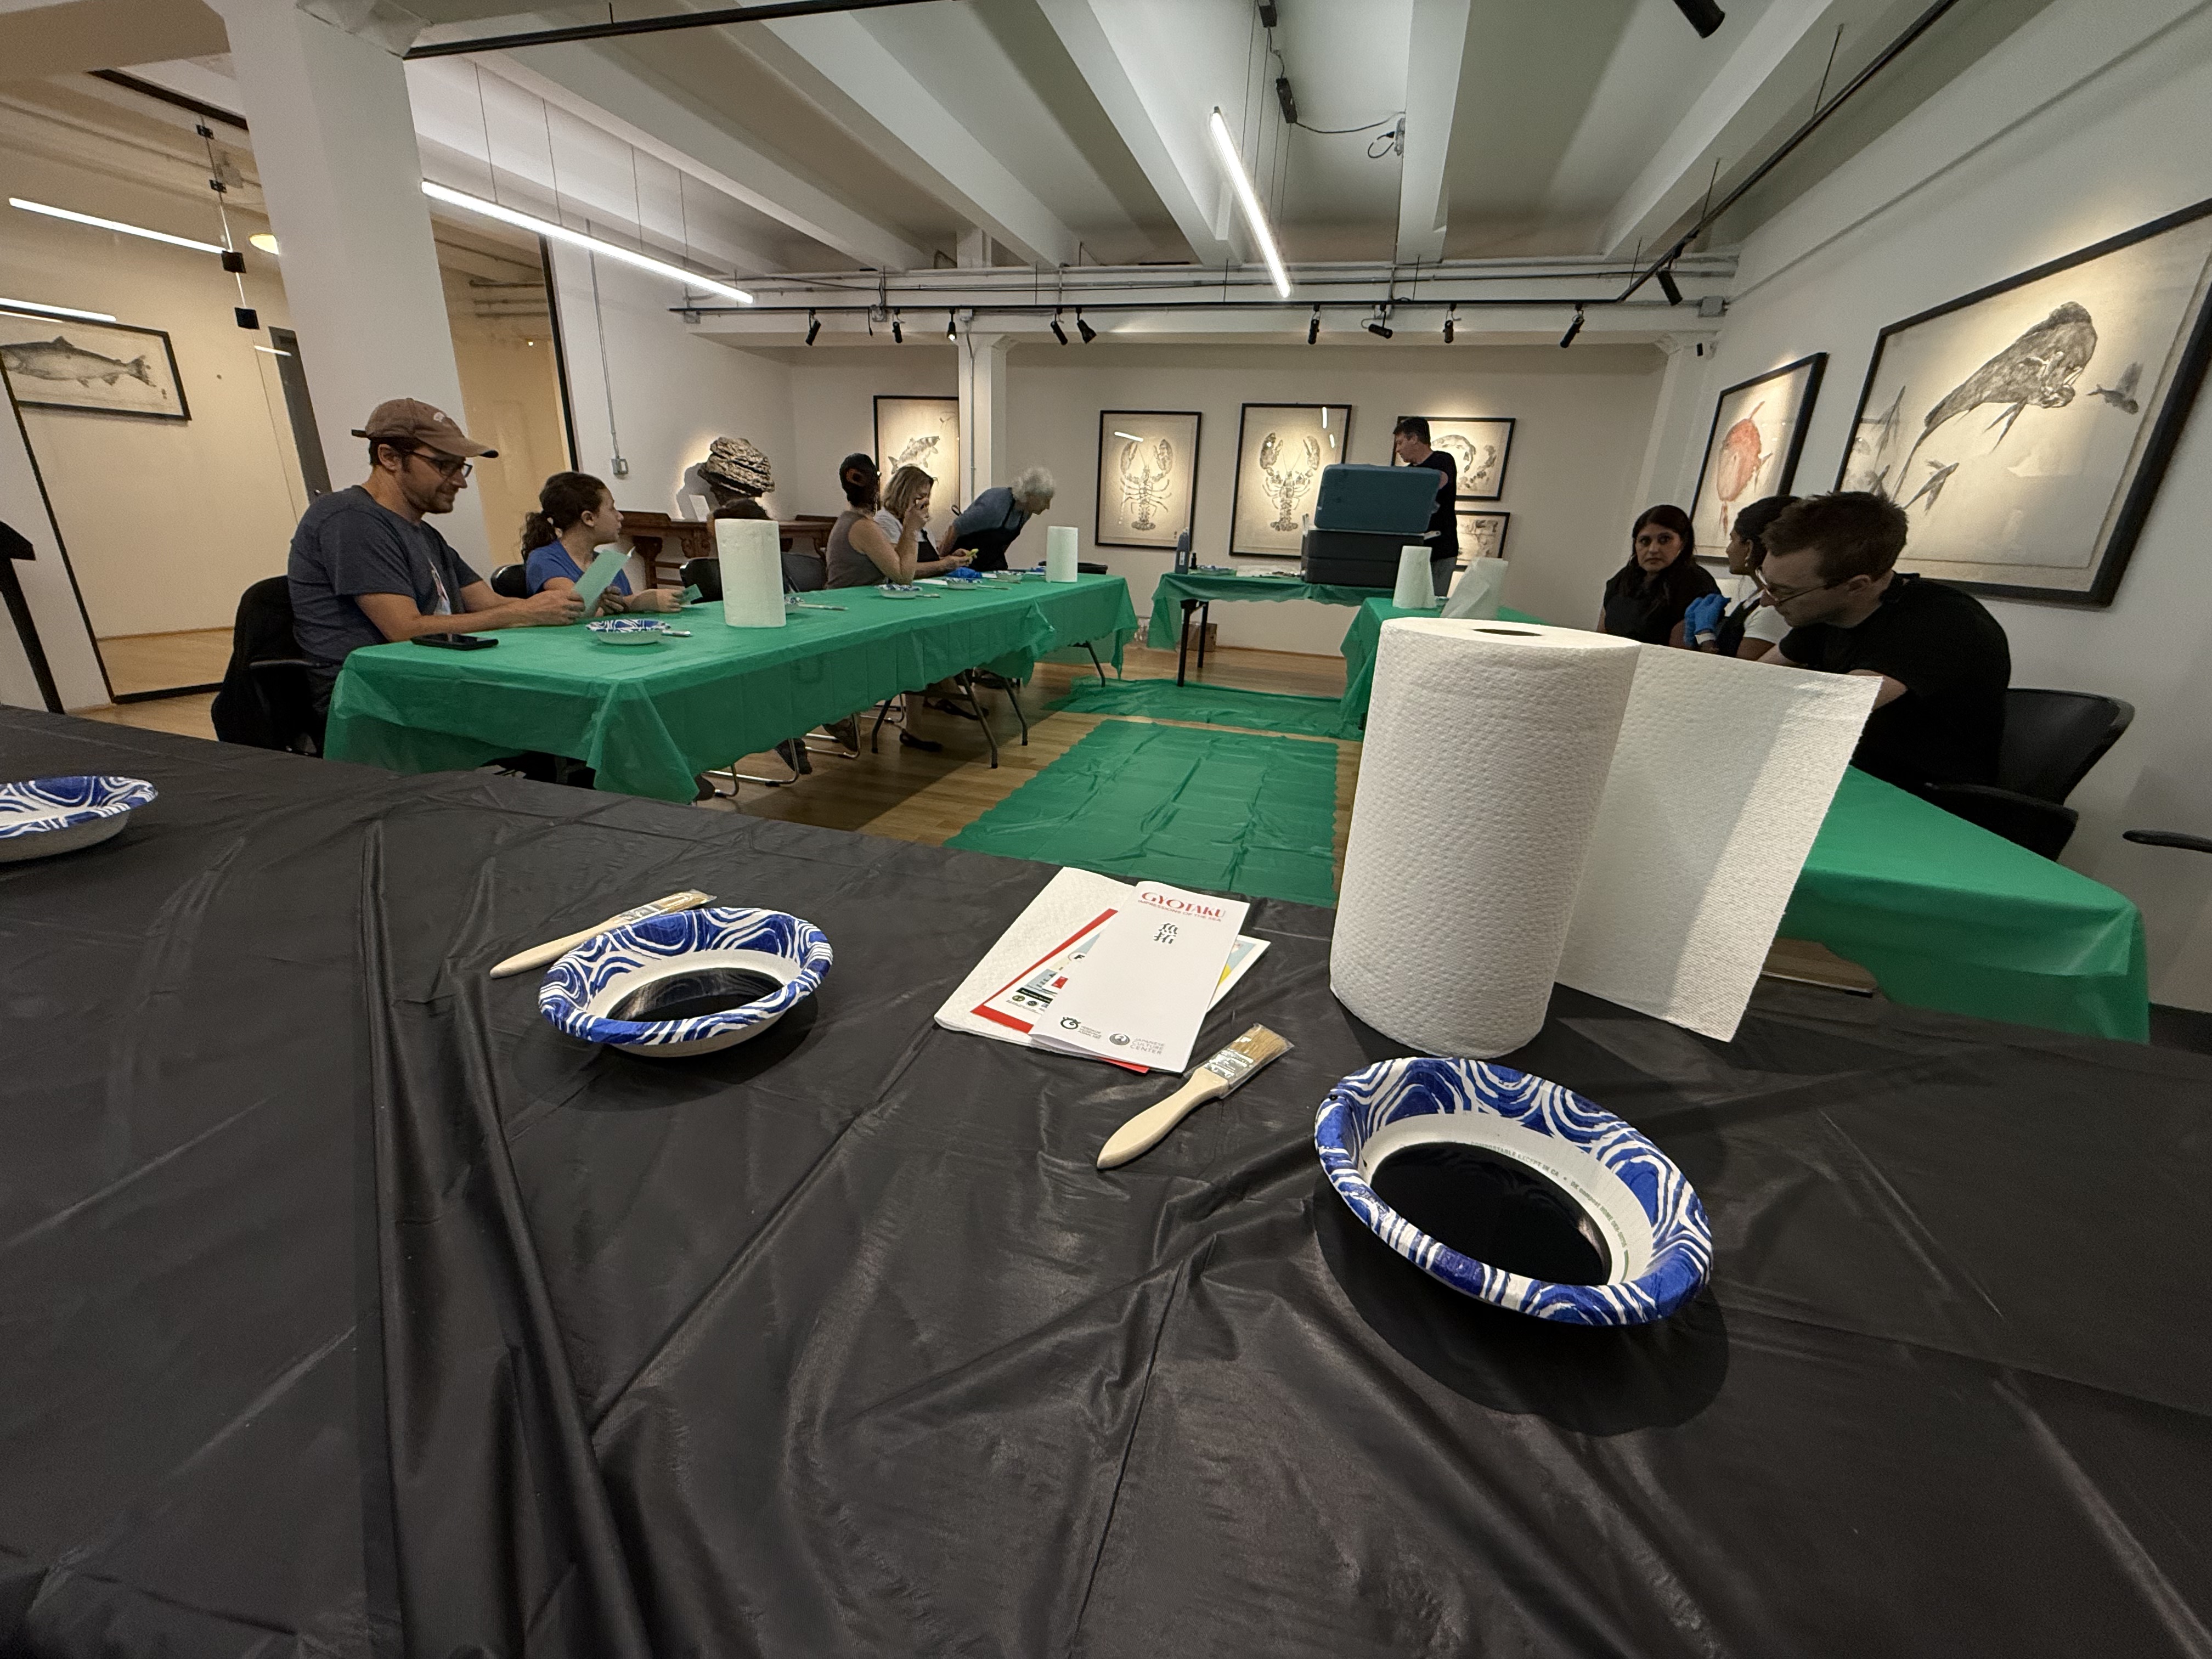
Here's what the classroom looked like right before we started. Everything was neatly laid out for us.
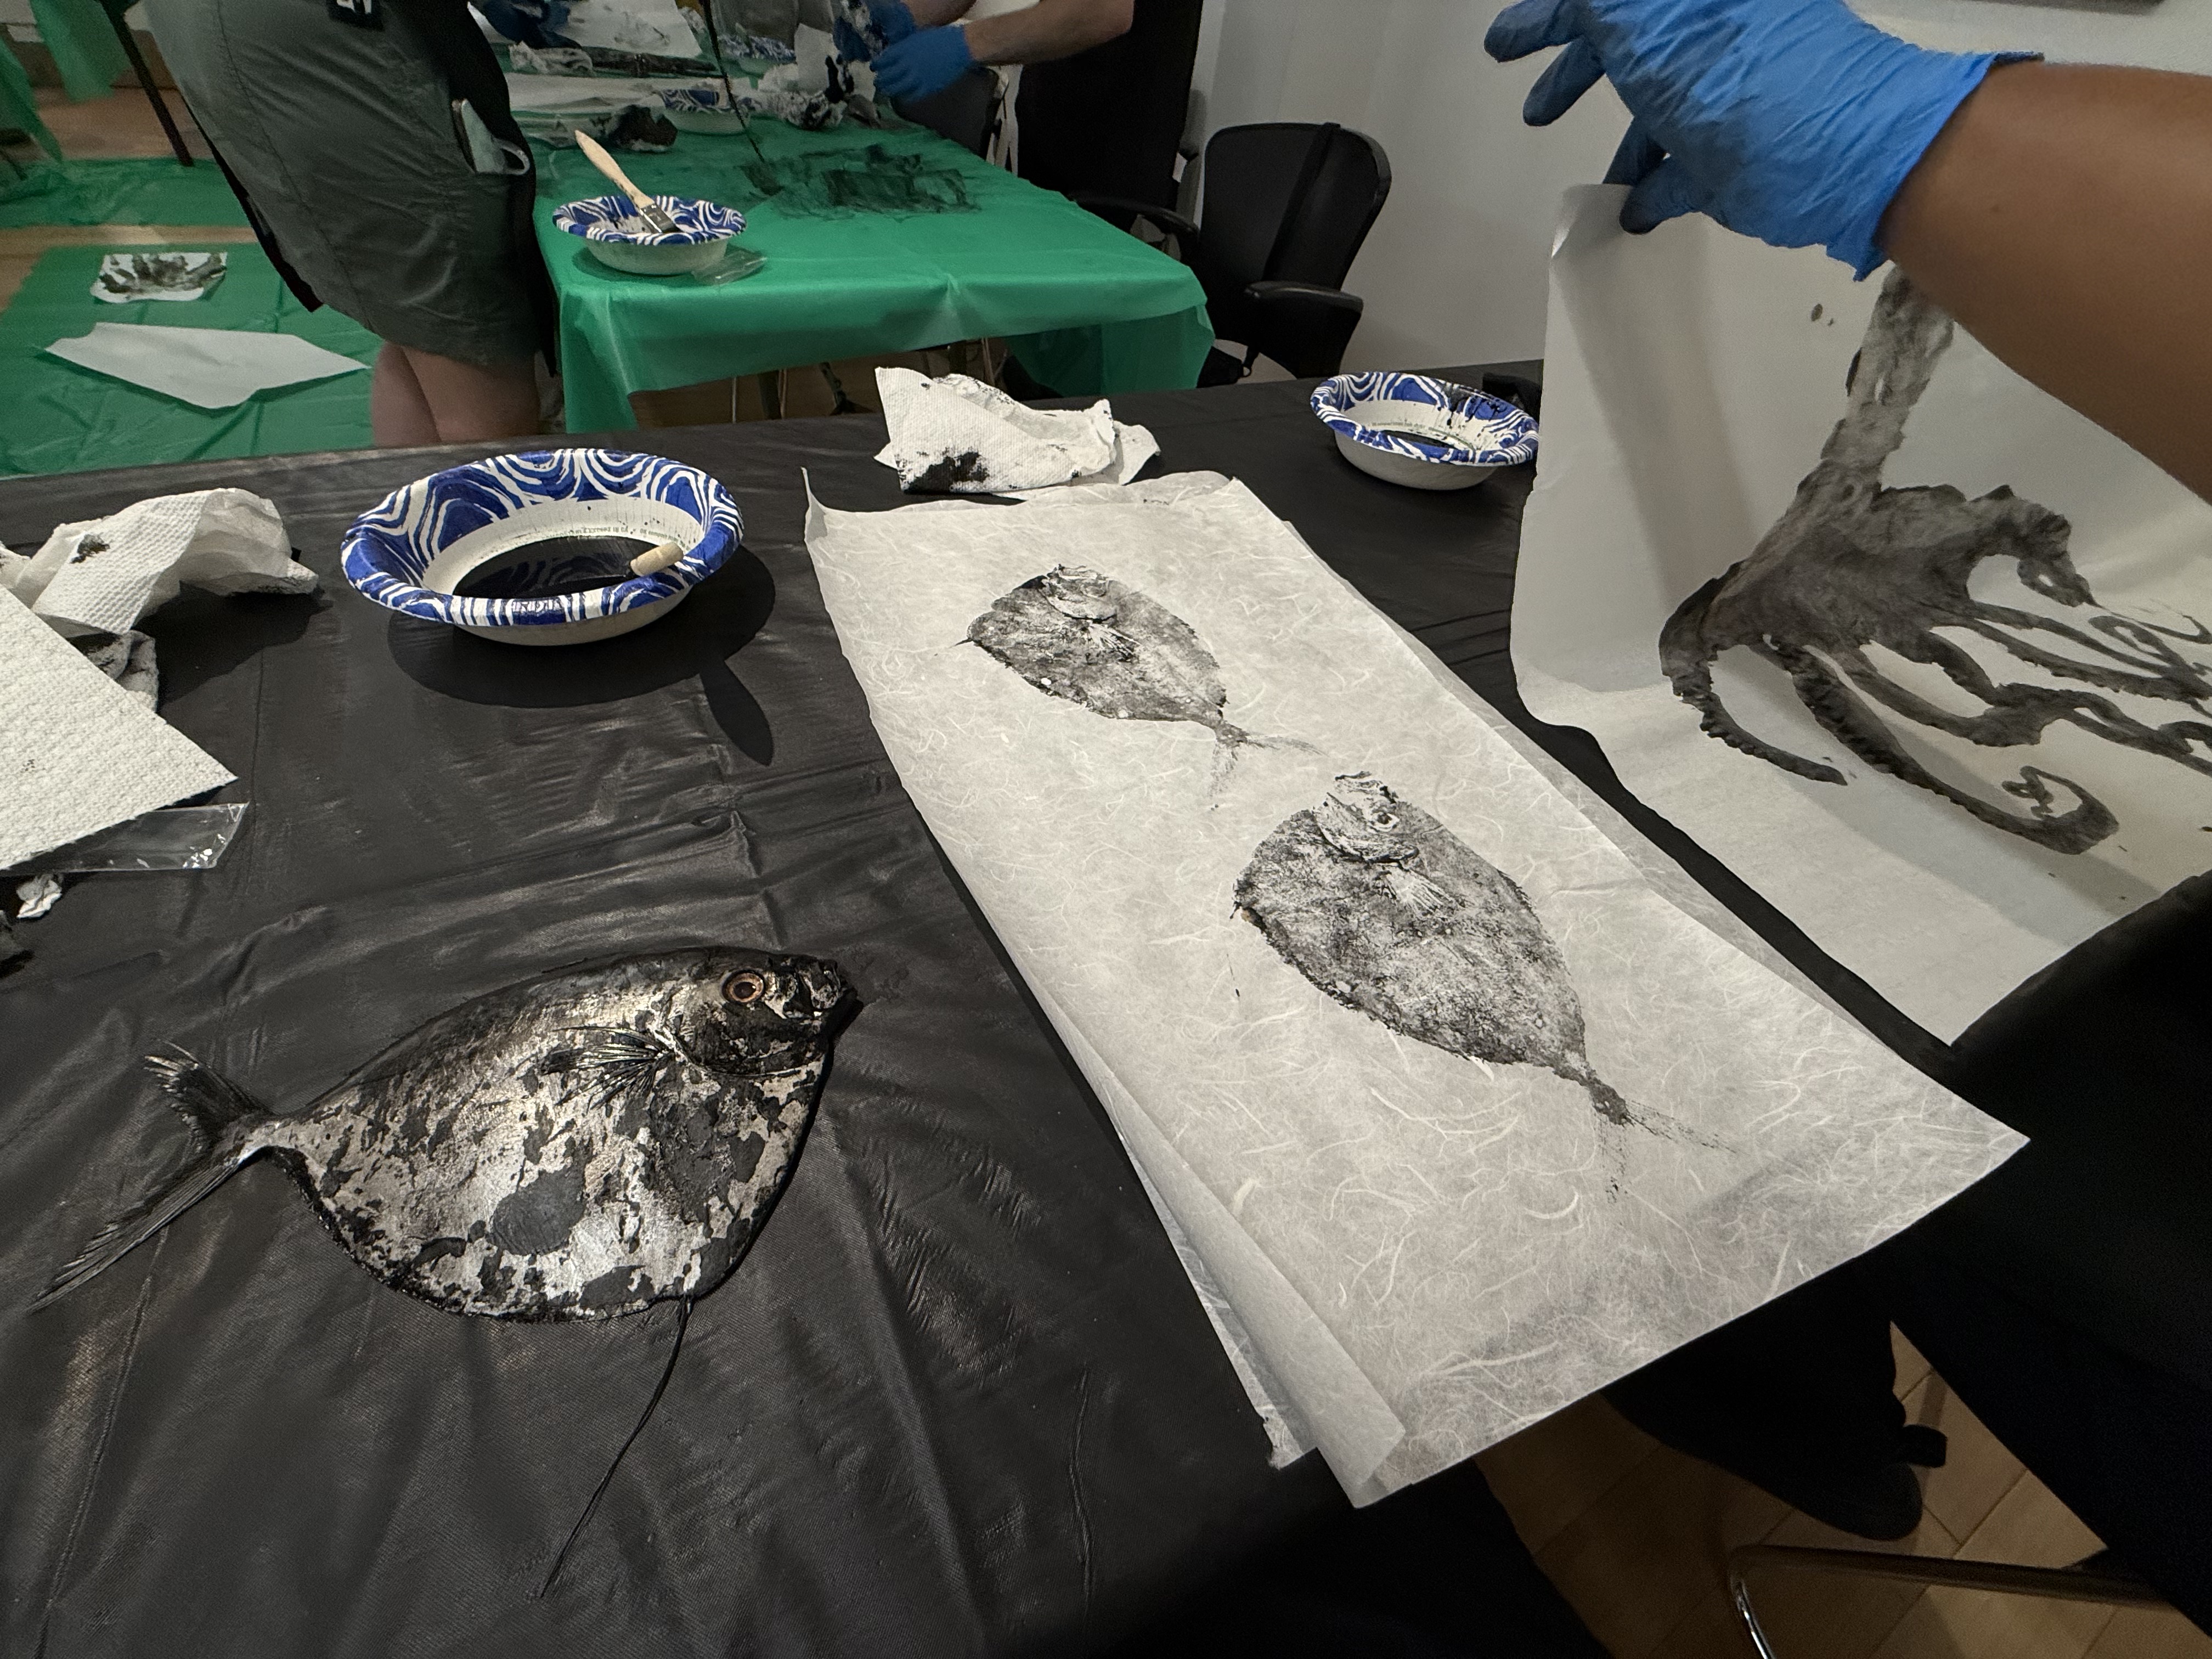
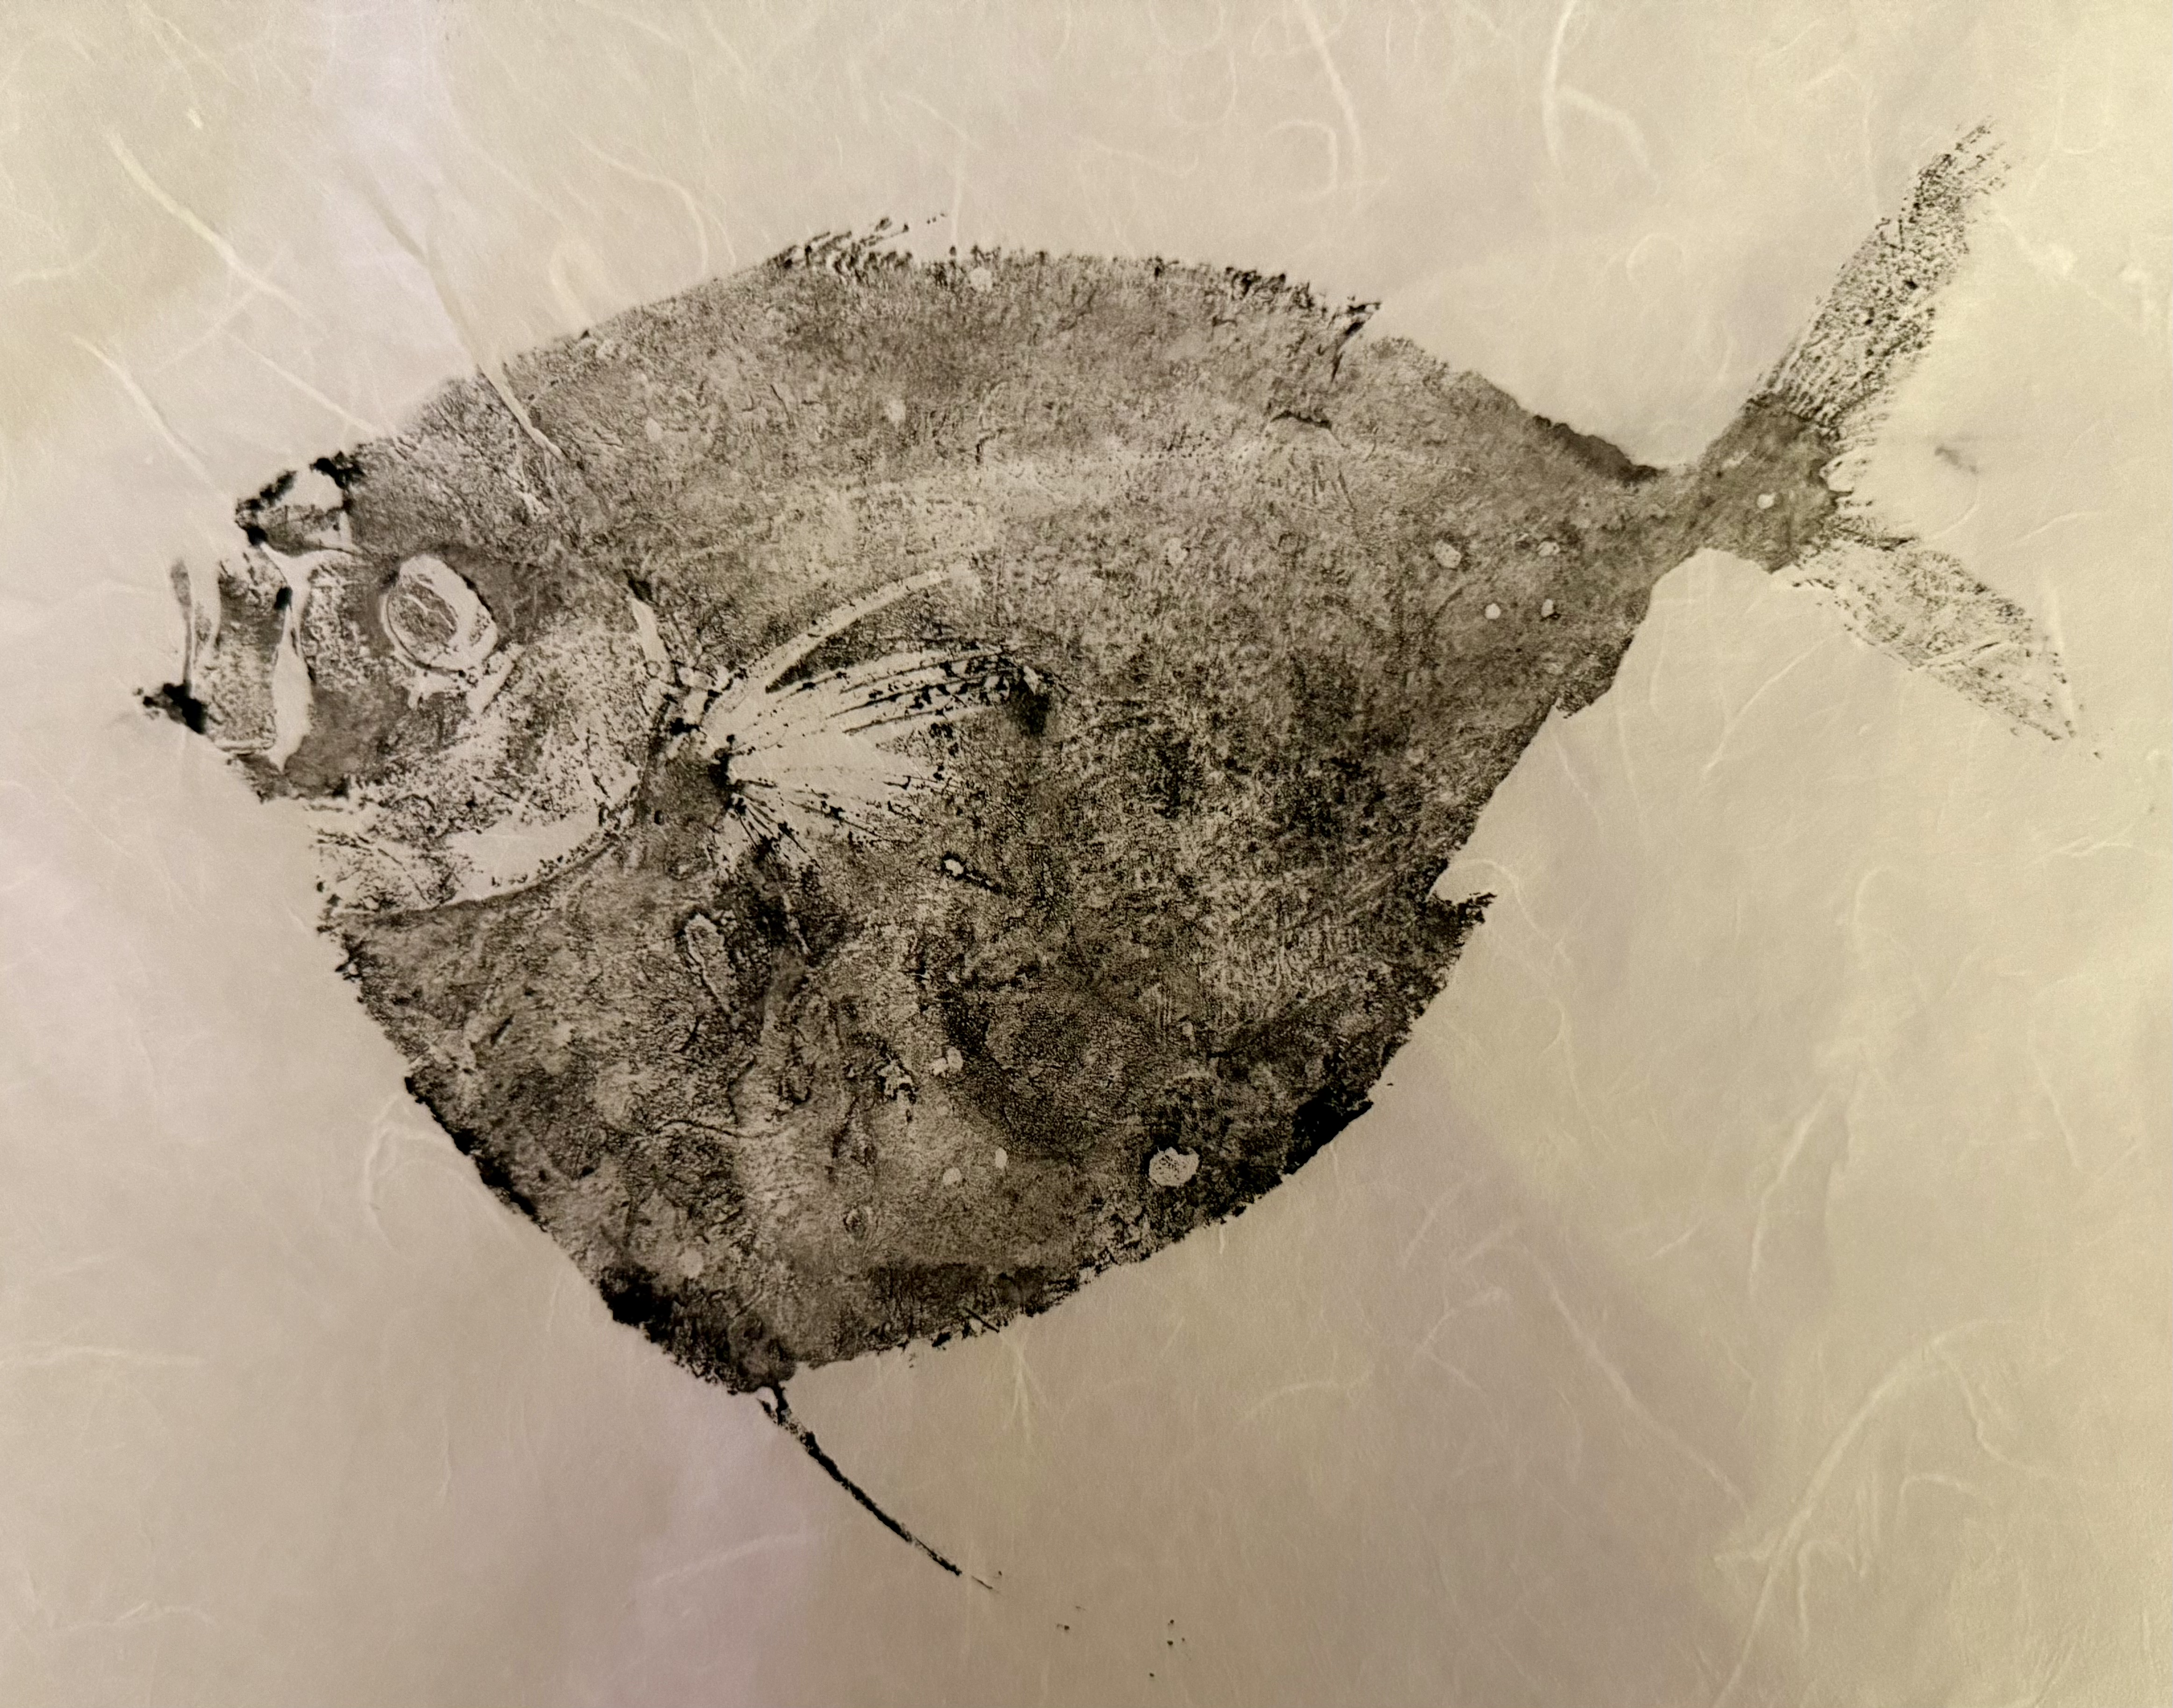
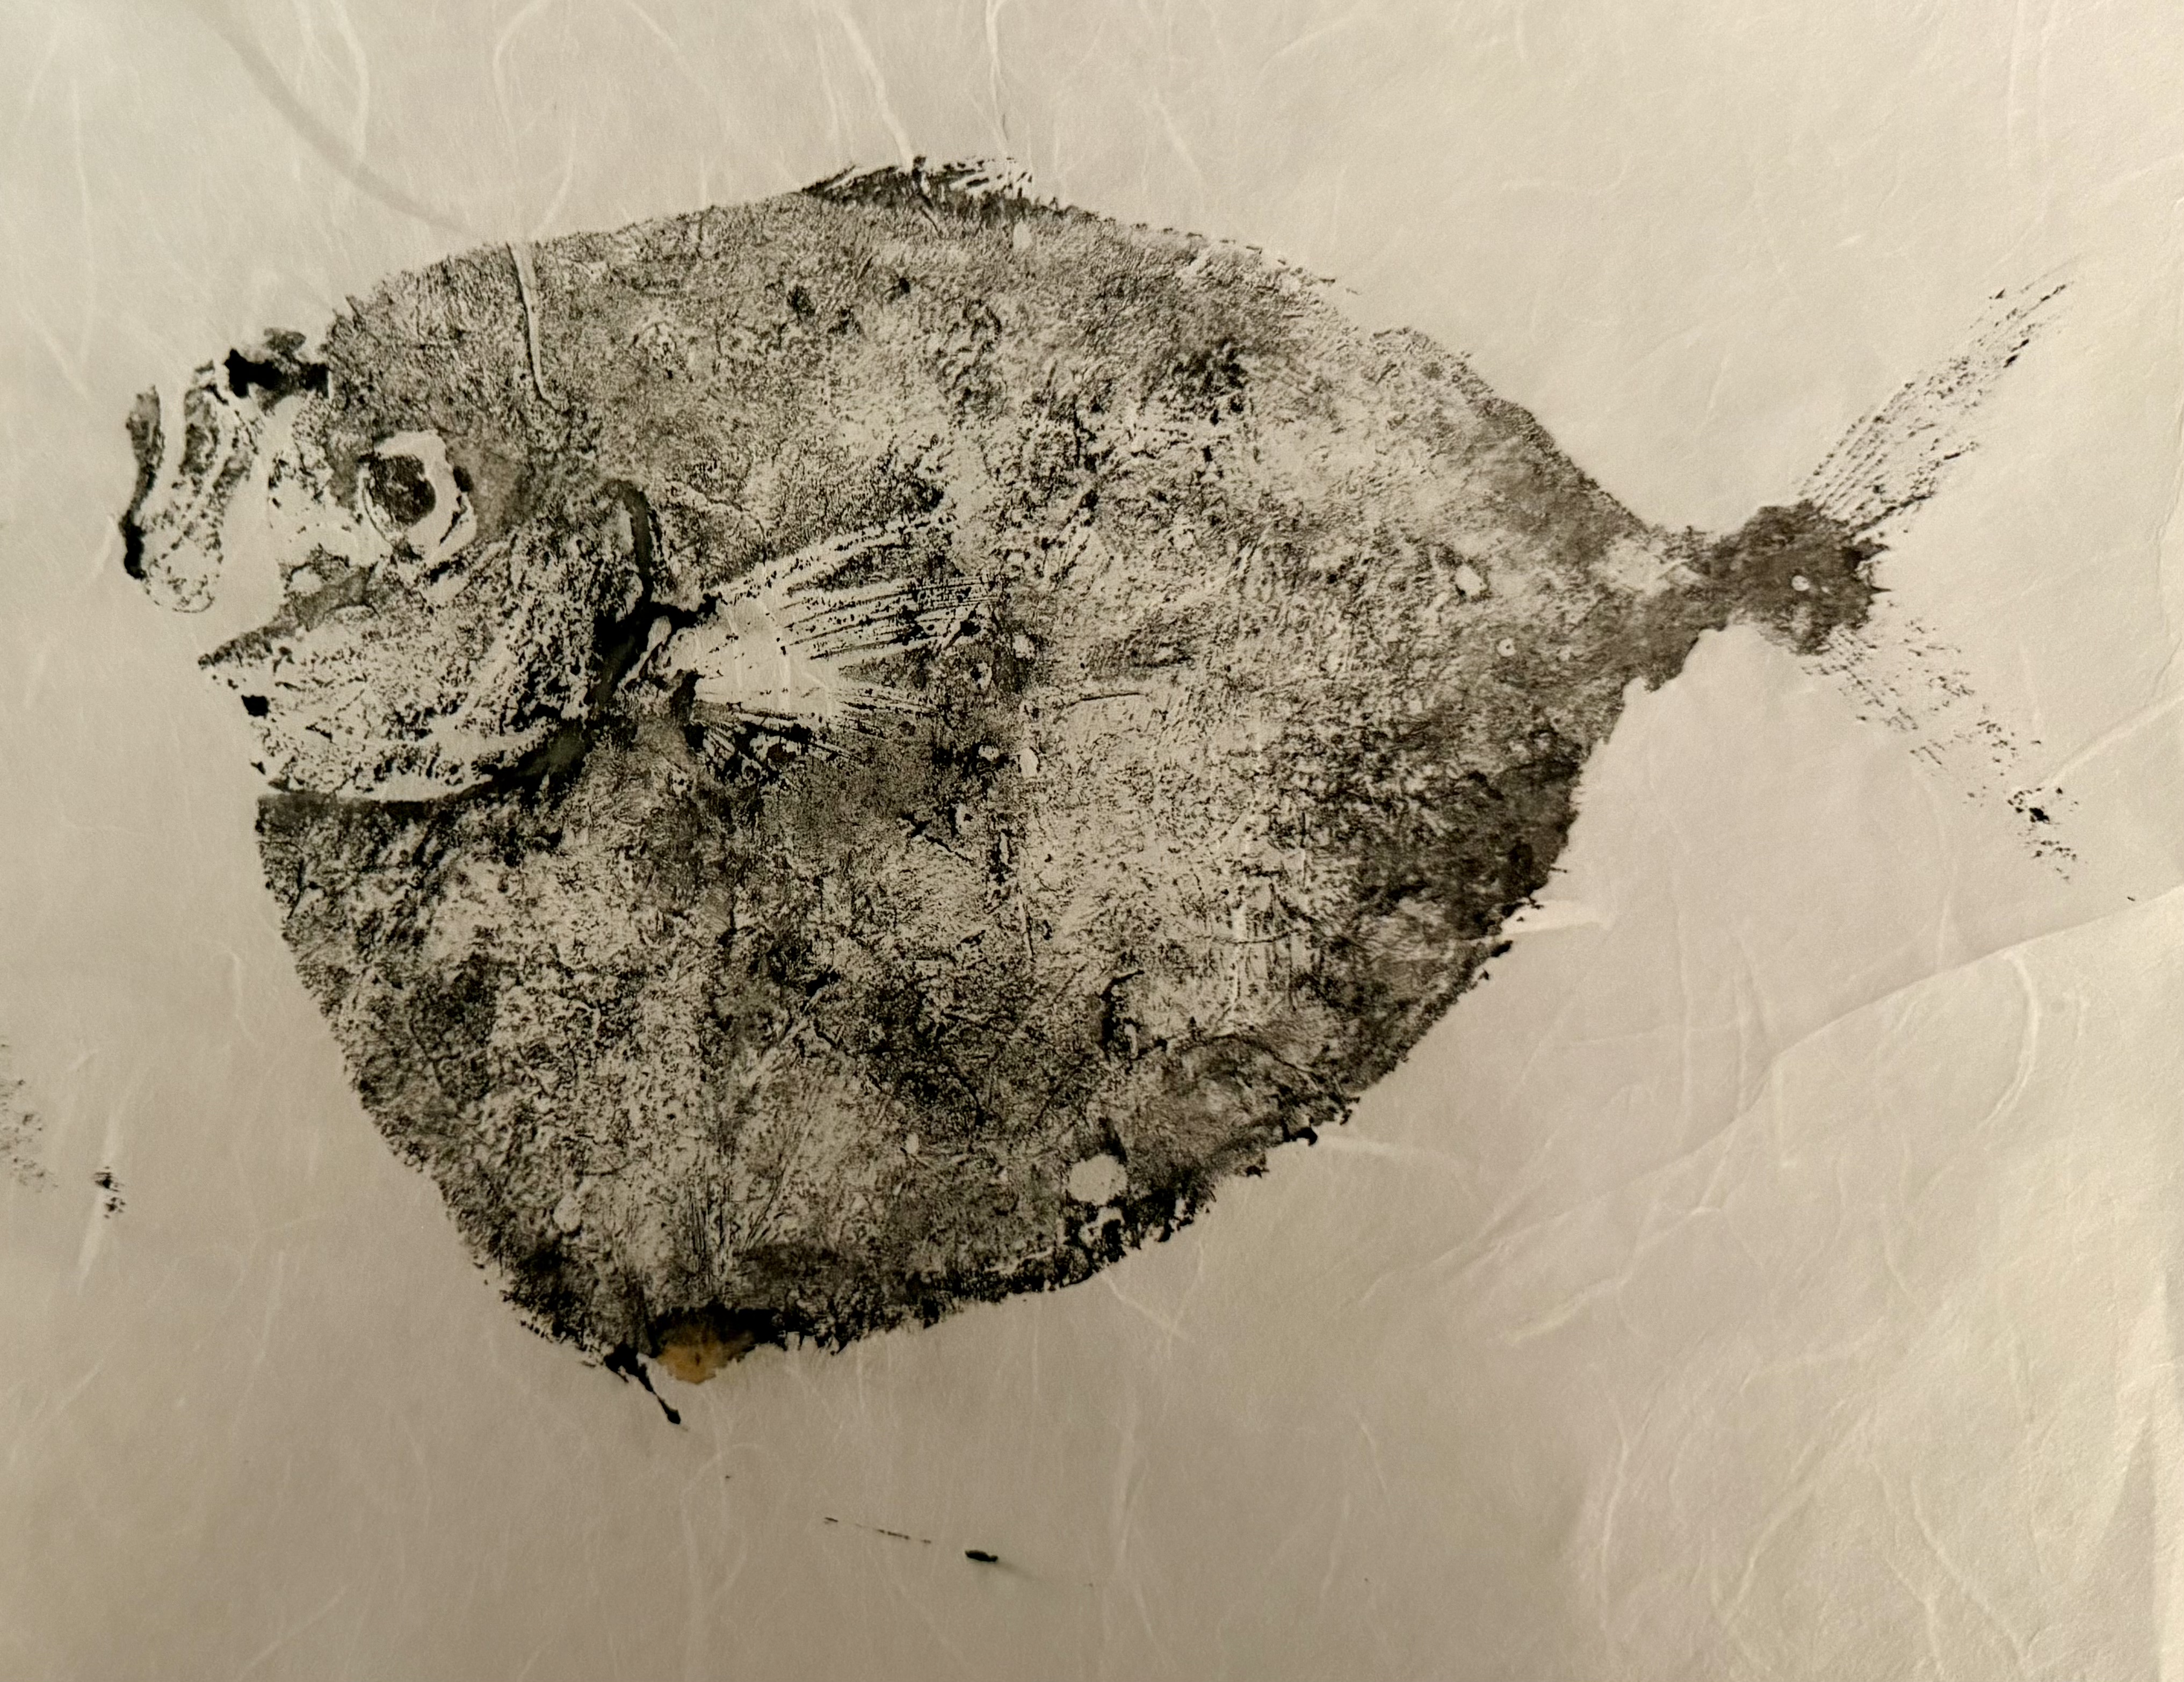
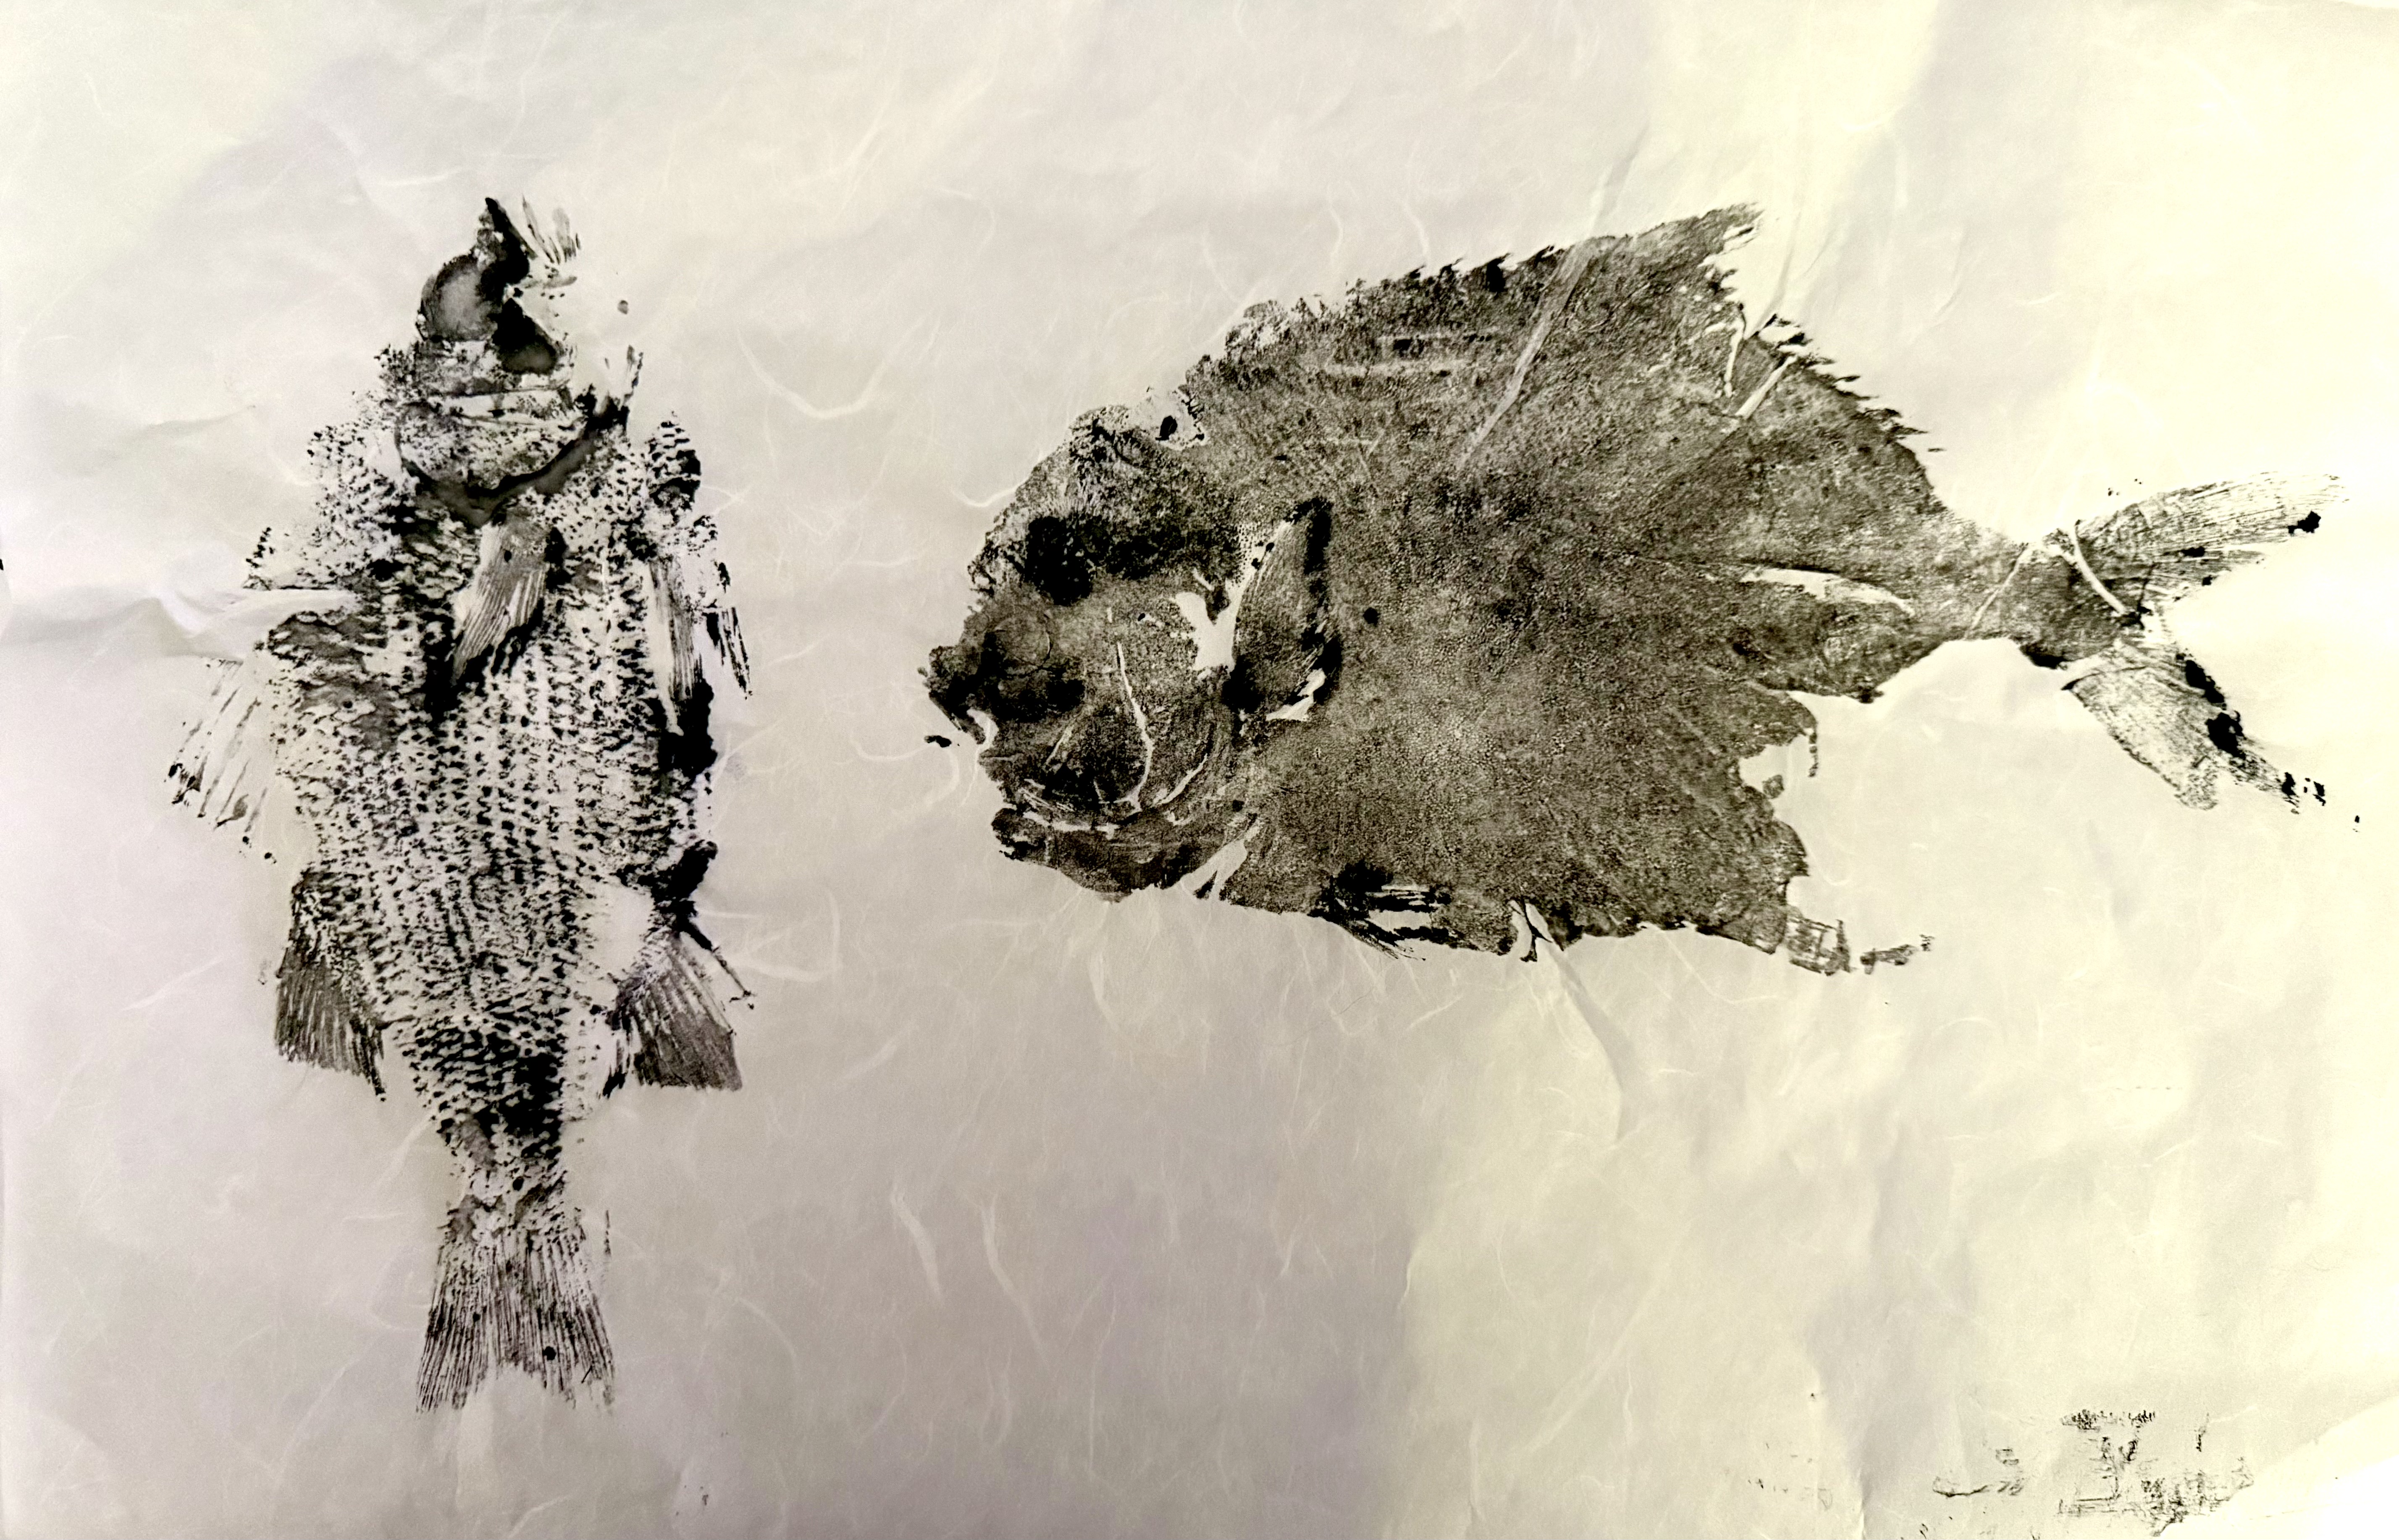
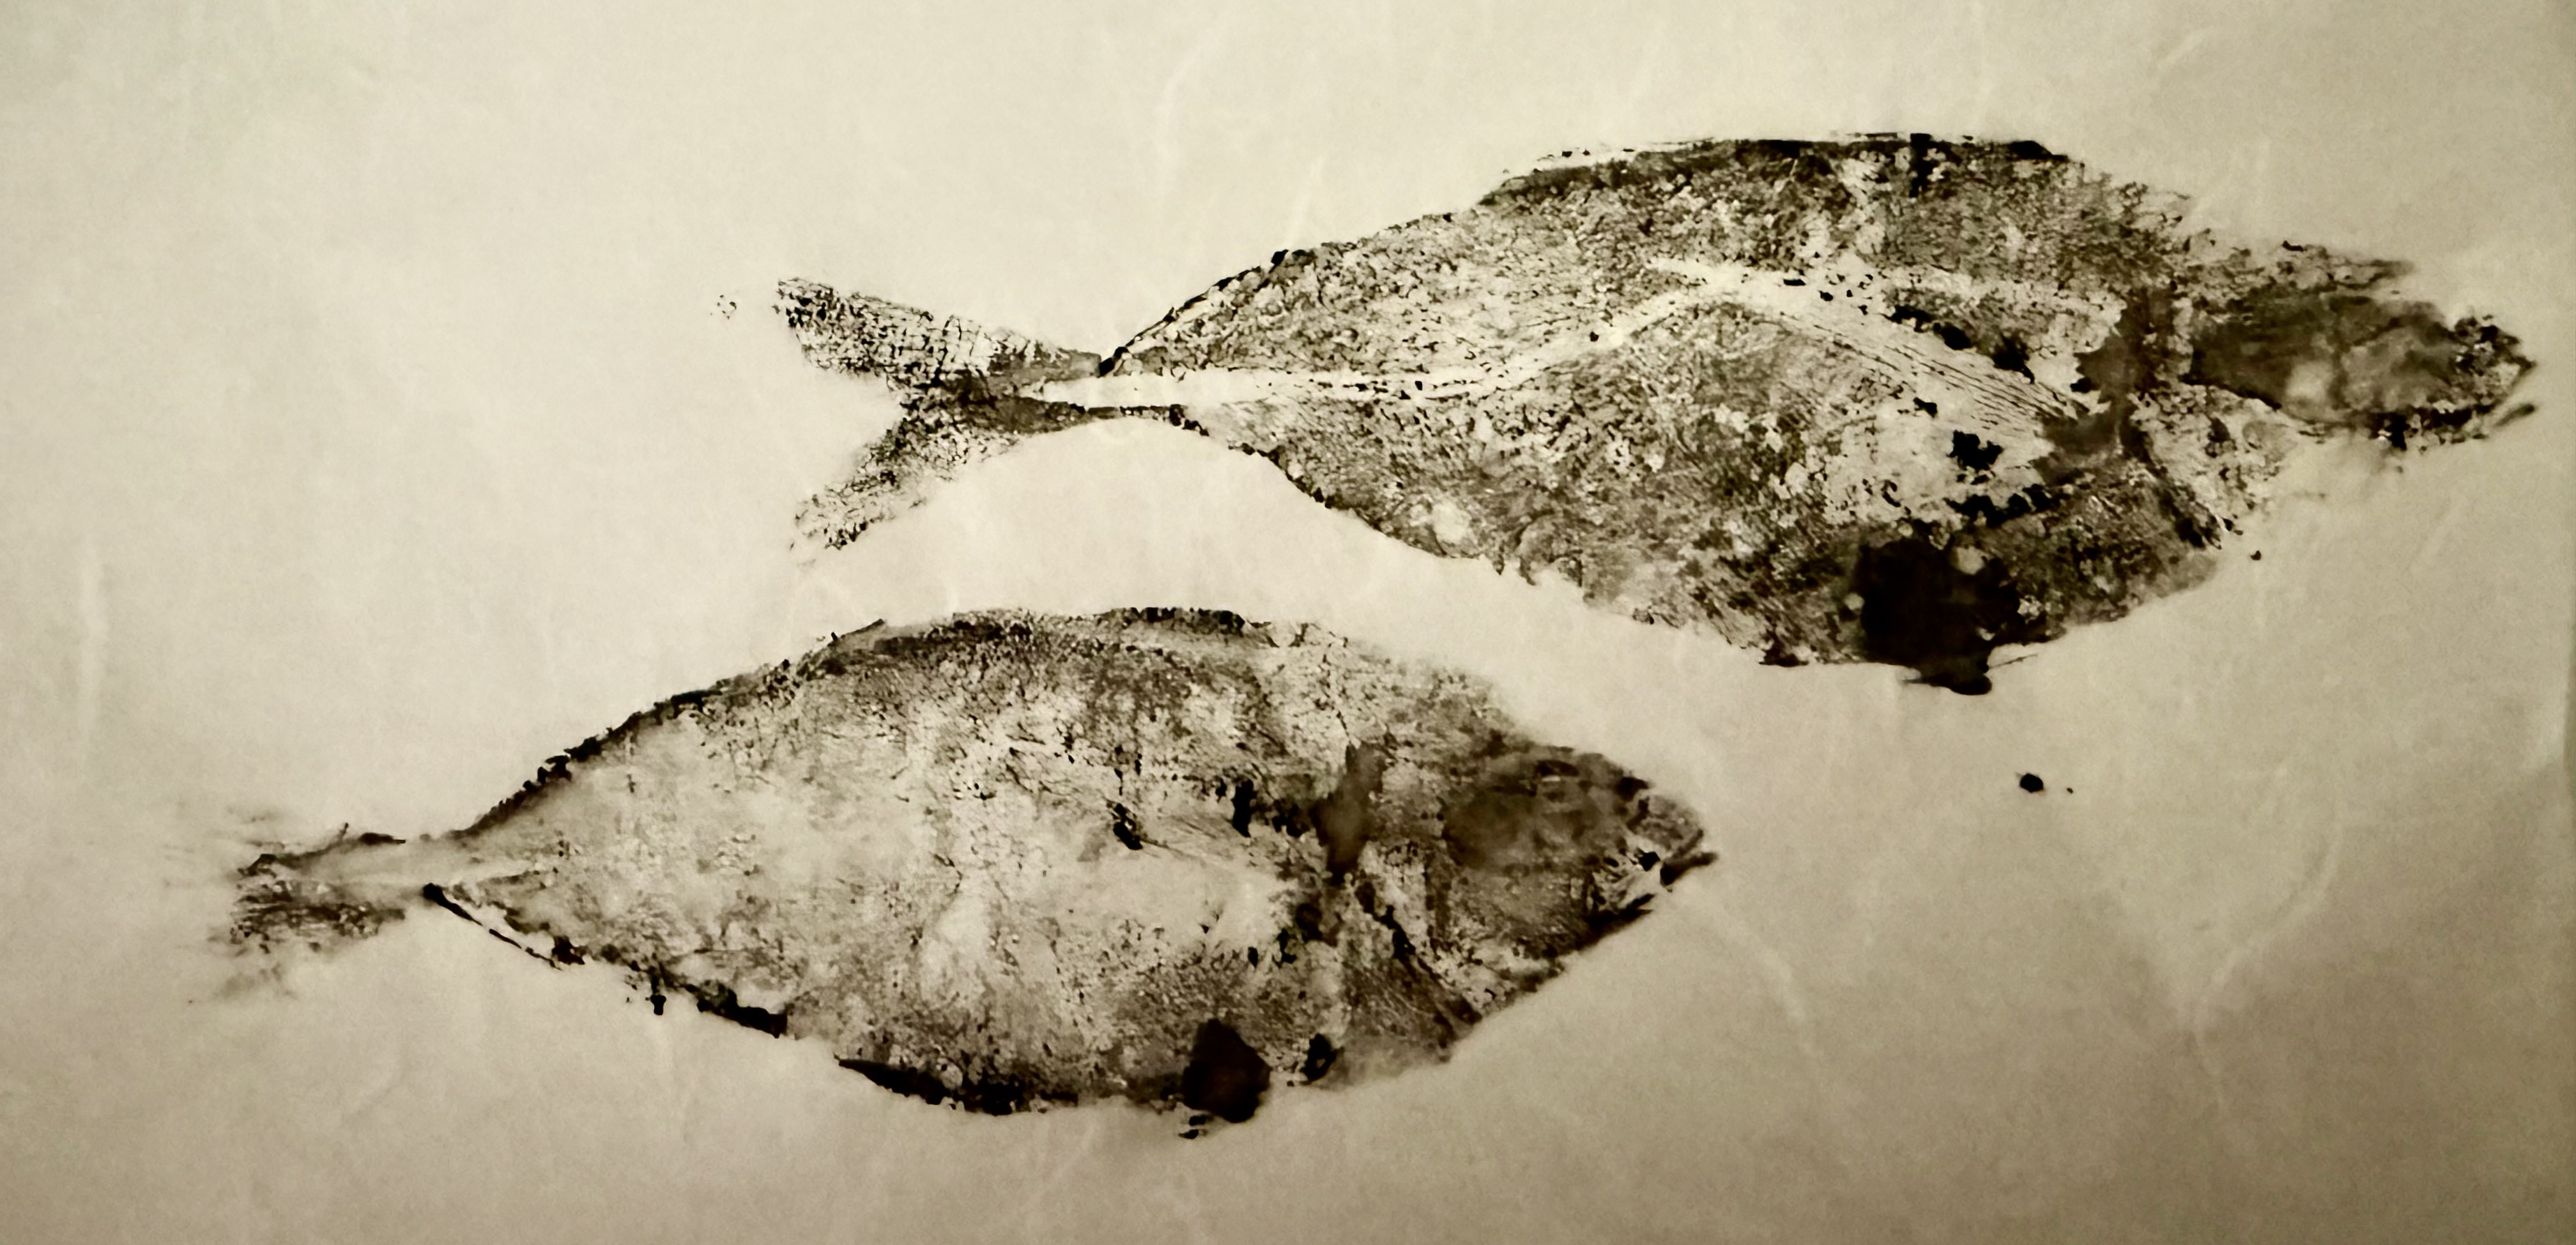
Right after a fish has been inked and a print has been created.

Here's the octopus. I had just finished posing it and blotting it dry with towels. My hands were already dirty since this was my last print of the day. I was getting ready to ink the octopus and make my print.
The substrate for all prints was washi/rice paper, the ink was sumi ink.
The key to getting a good print is working fast, particularly for wetter, or slimier fish like the octopus.
The process was actually quite accessible. Basically, you cover the fish with ink,
and then immediately blot off the ink as much as you can. Then, you quickly lay your washi paper on top
and press down. The goal is to smooth the paper into as many crevices to get as much detail as possible.
It's messy if you don't wear gloves, but very satisfying (and smelly).